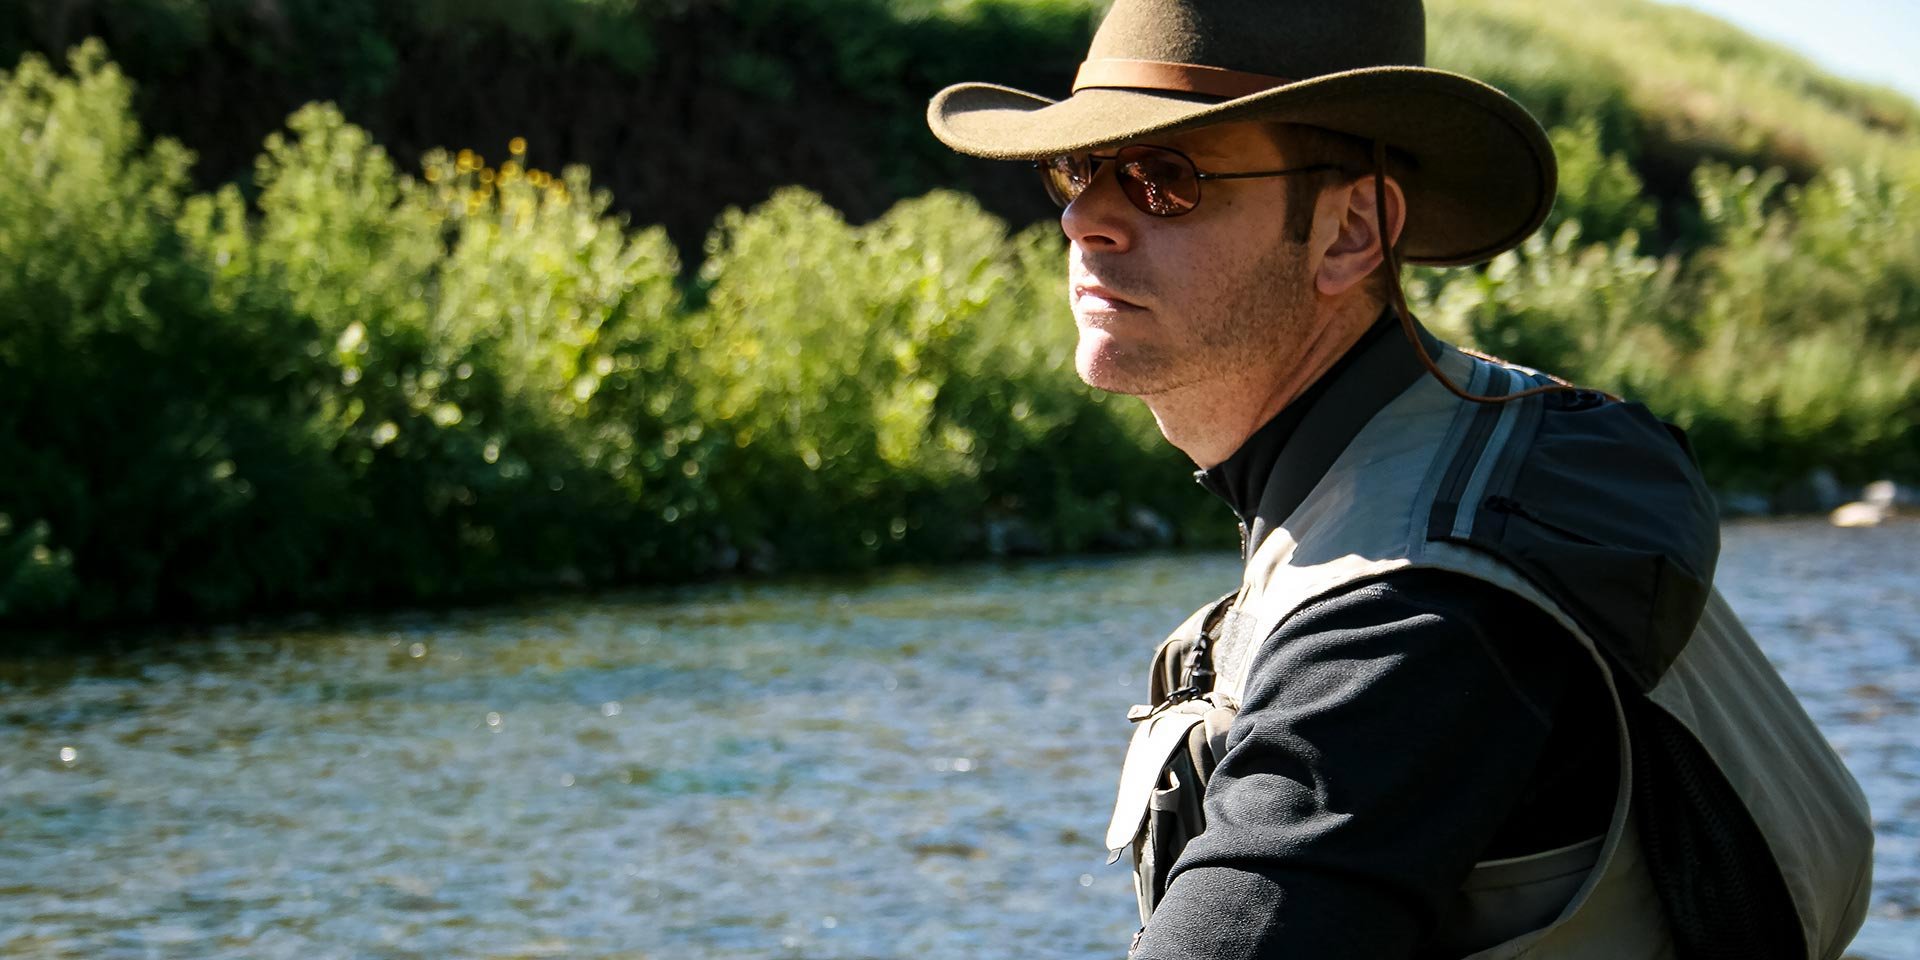
Jason Borger
Jason Borger
1. Choice of equipment: Rods, reels, fly lines, fly floatants, clothes, glasses and other useful items.
That’s a big category. It can be made even bigger if “floating fly” means any floating fly and not just the stuff for trout, grayling and so on. Floating fly systems for largemouth bass or even tarpon? Sure, and they aren’t what I’d call delicate. With that in mind, the key with gear selection is to match it to the task at hand.
For rods, that means something that does what I want, how I want when using the terminal tackle that I need for an angling scenario. That can mean a lot of things in terms of length, but I suppose that I’ve spent the majority of my “floating fly” water time with rods in the eight to nine-foot range (with fixed-line gear being a notable exception). Combined with situational functionality, I like a rod that can handle being banged about a bit—a “fishing tool”. Those aspects are separate from preferred aesthetics or memories that a rod may evoke.
Reels, like rods, have to perform for the function at hand. In much of what we think of as floating fly angling, I want a reel that has a drag suited to lighter tippets, plus some degree of easy finger and/or palm control. I will admit to having a soft spot for reels. For me, a great reel has to perform and at the same time make me want to look at it. I also like a pleasing click, something useful, but nothing harsh and overly dramatic. That’s purely making choices from the aesthetic side, and I’ll gladly confess to it!
I like to say that in fly fishing, the magic is in the line. It’s that piece of gear that really separates fly fishing from other forms of angling. For the price of one high-end rod, I can get half a dozen or more high-end lines. I can tell you which makes a bigger difference. Taper, material, and texture all have a part. For trout and similar species, I tend to gravitate toward lines with plenty of belly length and/or long rear tapers. I do like textured lines for their enduring performance, but I also like a soft, buttery smooth line for the sense of hand and flow. Have to be sure to keep those clean, though.
As for the rest, there’s a lot of meandering about. I like good, sharp nippers, a scissor-jaw forceps in black, polarized sunglasses that don’t slip on my nose, floatant with a cap that doesn’t leak, fancy fly boxes with little spring-loaded lids that break but I don’t care, and maybe a patch of amadou left over from when I was a kid. If warranted, I’ll grab a net, too, preferably one that was made by someone who has passion.
2. Leader material, build up, length and knots.
I think I need to start every section on this list with “Based on the angling situation...” Ha! One of the best leaders I have used for floating flies is 5 feet long. One of the best leaders I have used for floating flies is 10 feet long. One of the best leaders I have used for floating flies is 15 feet long. See where this is going? All of those leaders were built with these factors in mind:
• Casting control
• Drag control (not always drag reduction)
• Ease of tying in the moment (that’s both “recipe” and materials)
For building I typically use nylon. I like knots that are fast (and strong when tied properly) and make sense for the part of the leader I am making. I usually employ a perfection loop connector section (one or two feet in length) knotted to the fly line. I keep total sections to a minimum, and tend to keep leaders shorter, unless there is a true need for something special. I like longer tippets, though, sometimes with a split step-down (say 4X to 6X, versus all 6X). I try to use casting/aerial mending to help leaders land ready to fish and to perform the way I want for drag control.
Here’s a recipe for that 10-footer I mentioned above. It’s based directly on my father, Gary’s uni-body leader design concept: 4 feet .020”; 1 foot .013”; 1 feet .010” (1X); 2 feet .007” (4X); 2 feet .005” (6X). You can make that 13 feet by adding three more feet of .010”.
The butt/taper sections are lashed together with 4/6 blood knots, and the tippets are attached with 3-turn surgeon’s knots (or whatever these knots are called where you reside). If you like tippet rings, you know where to add one.
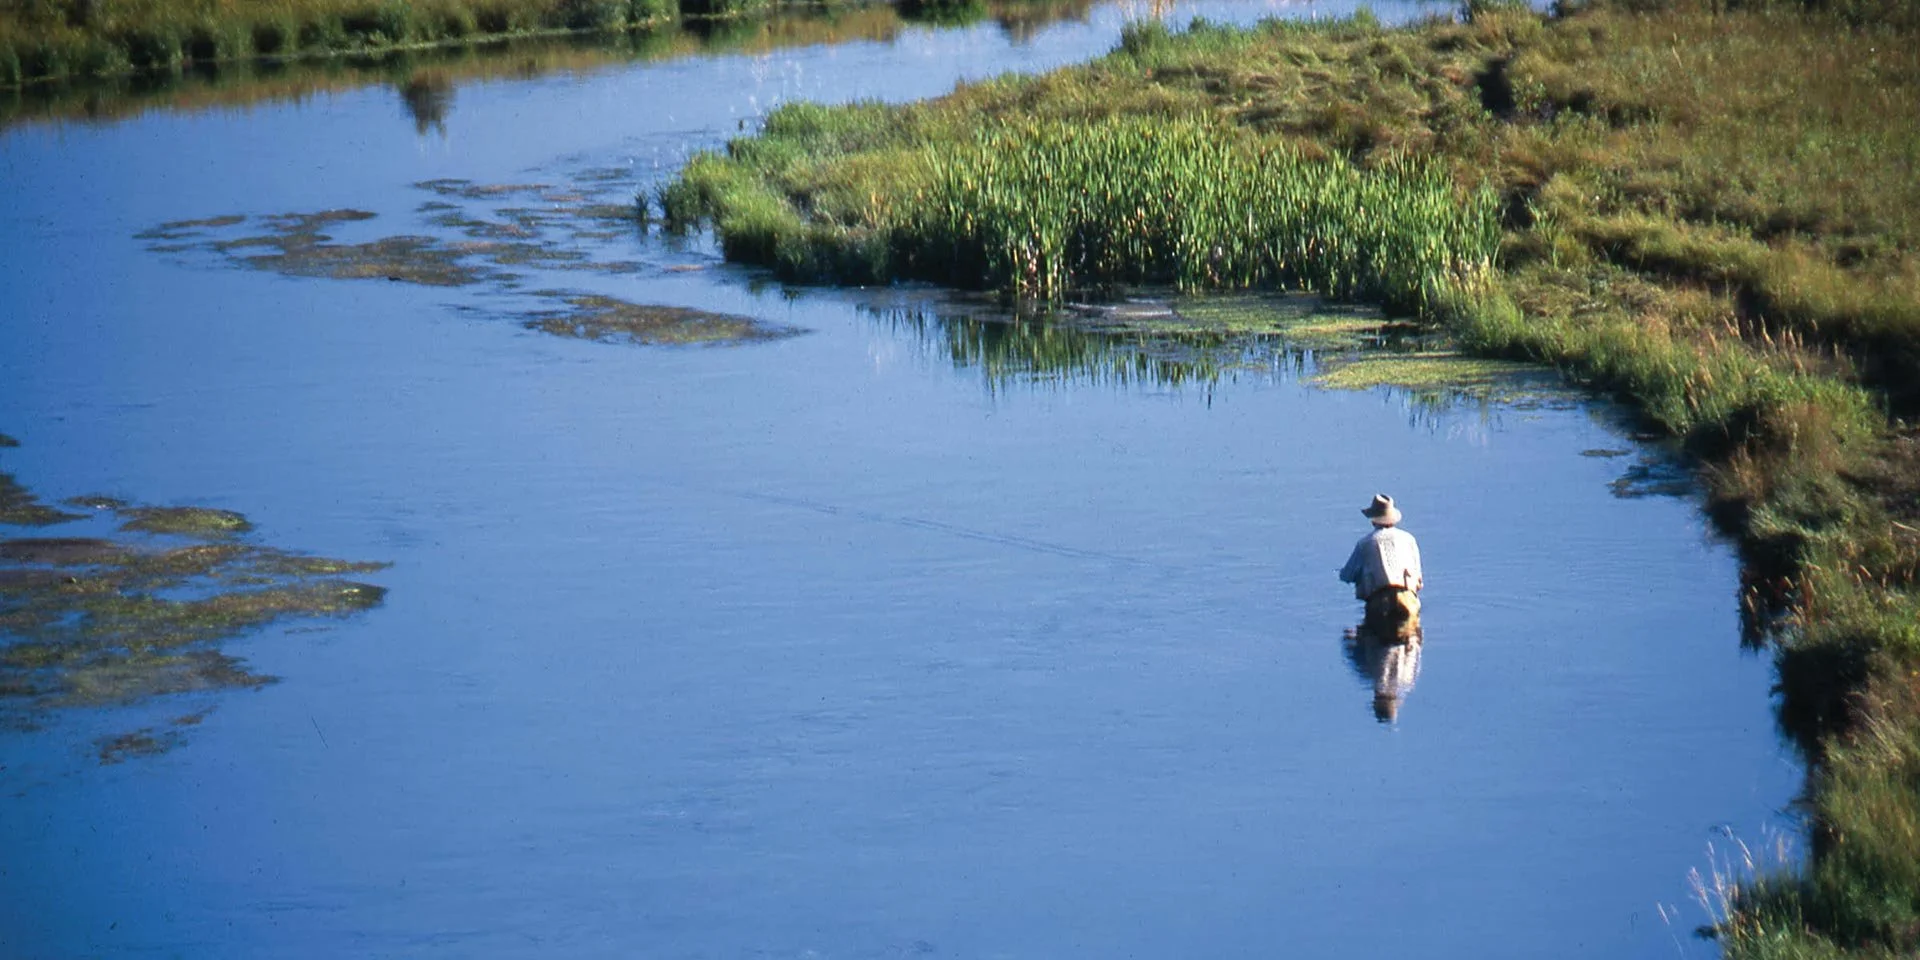
3. Approach and stealth.
Golden Recommendation #1: Play the heron. That means get into position, wait, watch, and then don’t make your big move until the time is right. Herons move with deliberation and purpose and patience. They have to or they don’t eat. When was the last time you managed to catch a wild trout at your feet using your mouth? Herons do it. Which leads to…
Golden Recommendation #2: Assume that the fish can see you and act accordingly. Think: a bit slower, maybe a little lower, making moves count. If there’s cover of some kind, use it. And if you’re someplace where the fish aren’t all that spooky or are so focused on eating at the surface that they aren’t watching their backs, it’s your lucky day!
With those recommendations in mind, I like approaches that allow me to have an idealized combination of casting and drag control (at least in moving waters). I also like to wade smart, going quickly where it makes sense and easing back to “ninja mode” in the obvious locations. Sometimes you can’t get anything that’s idealized or ninja, sometimes you play the hand of cards you are dealt. Having a decent quiver of casts and aerial mends in place can help, and so can just having patience.
4. Reading the water.
You can read the book of water at page, paragraph, or sentence level depending on the situation. I’ll focus on a few key passages here:
If rises aren’t obvious, look for water that concentrates food and makes swimming easier. Watch the flow of bubbles or foam — “fish soap” as my daughter calls it. Where and how is it going and what does your fly need to do to ride along? Look at structure, weed growth, and edges (horizontal and vertical) that create feeding or cruising lanes, drop-offs, and channels. In stillwaters, heaving and leaving a floating fly in those places can lead to an unexpected take.
Are the fish feeding on insects dropping or jumping from the grasses or trees? Then you may need to reset some expectations of fish location and read the water tight against the bank.
Water can very much dictate approach, casts, mends, and leader designs. Sometimes the solution to a perplexing drift is to add tippet—lots of nice, thin, tippet. Other times, the reading means you might need to change where you are standing by 100 feet (think: upstream presentation that needs to become a downstream presentation).
5. Casting ability which casts are essential.
An angler can be highly successful—in certain situations—with a modicum of casting and mending skills. In a few places, you can even not cast at all, or use a Bow-and-Arrow Cast, and still catch fish. If you want to fish floating flies in a variety of situations, however, then you need a practiced and reliable skill set.
Variations of overhead and elliptical cast types get the fly to where it needs to go, but it’s the time between loop formation and the fly landing where I often to focus my greatest attention. This is the timeframe of aerial mending.
There are four foundation aerial mends: right, left, up, down. They come by a variety of names, such as reach mend, parachute mend, and puddle mend, but each involves moving the rod and line to a different position while the line and fly are still in the air. Manipulating line in the air is easier than on the water, it allows an array of possibilities, and the fly lands ready to fish.
Combining those four mends to make infinite possibilities is the next step. For example, combining an aerial mend to the right with an aerial mend down (i.e. a reach mend with a puddle mend) creates a sweet, up-current, slack line presentation that reduces chances of lining a fish.
There’s a lot more, such as aerial curve mends, and some highly useful cast modifications like the Corkscrew Curve. Those are worthwhile skills to investigate further.

6. Entomology, what should we know.
Knowing scientific names down to the subspecies level is a good start—a good start to driving yourself crazy! Knowing the behavior of the organisms that you are going to be imitating? That’s a better idea for the floating fly angler who is not an entomological geek.
By behavior, I mean how and when an aquatic organism hatches or egg lays and how it moves at the surface (or doesn’t). Weather can play a distinct part in those processes, and it can also influence other types of floating fly organisms, such as terrestrials.
Sometimes throwing it all out the window and chucking a size eight yellow Humpy works, too.
7. Rise forms: Can they tell us something?
Rises can tell us all sorts of things, the most important being that there’s a surface feeding fish! From there, it’s a small book’s worth of discussion.
At a basic level, look for how much the fish’s nose breaks, or doesn’t break the surface. Obvious surface breaks, including big head-to-tail rises, are a decent sign that a floating fly, or at least a fly in the surface film, is in order! If the fish aren’t breaking the surface, but bulging riseforms are present, a floating fly may need to be exchanged for an “almost” floating fly. And keep in mind that in certain circumstances (low and slow water, small insects) “dimpling” rises might be hiding some very big fish.
A fish may change position, sometimes significantly, to take something from the surface. Dropping your fly immediately above where you saw the rise might mean casting behind the fish’s actual holding position. It could also drop the fly right on the fish’s head. Wait, watch, come to an informed judgment about the fish’s location, and then make your first cast count.
In stillwaters, riseforms can also help in judging a fish’s direction and speed and give you an idea about where and how much to lead out your fly delivery.
8. Fly selection, size, shape, materials, which flies are essential, favourite fly.
Fly selection, including tying, is another entire book! I’ll do a quick breakdown of some larger thoughts here:
I like floating insect imitations that aren’t over-built—at least for hatch matching. Sometimes, though, fly structure has to be overbuilt in order to better allow for an imitation of behavior. A flair of deer hair on the head of large, surface running caddis imitation comes to mind.
Keeping with that idea, I prefer materials and tying techniques that allow me to achieve my desired structure, profile, and overall presence on the water. A little can go a long ways when it comes to things like wings and hackle, and if a fly stands out “just enough” on the water then it’s probably about right.
In my trout boxes I carry certain floating flies all the time, among them deer-hair beetles and trailing-shuck Griffith’s Gnats. Both can do wonders. If I had to pick floating favorites, I’d go with a Loop-Wing Dun for on-the-surface and a Low-Rider Emerger for in-the-surface. Those are mayfly specific fly designs, but we are talking personal favorites here, not flies for every hatch or food organism. Those two flies have a lot of meaning to me, so there they are.
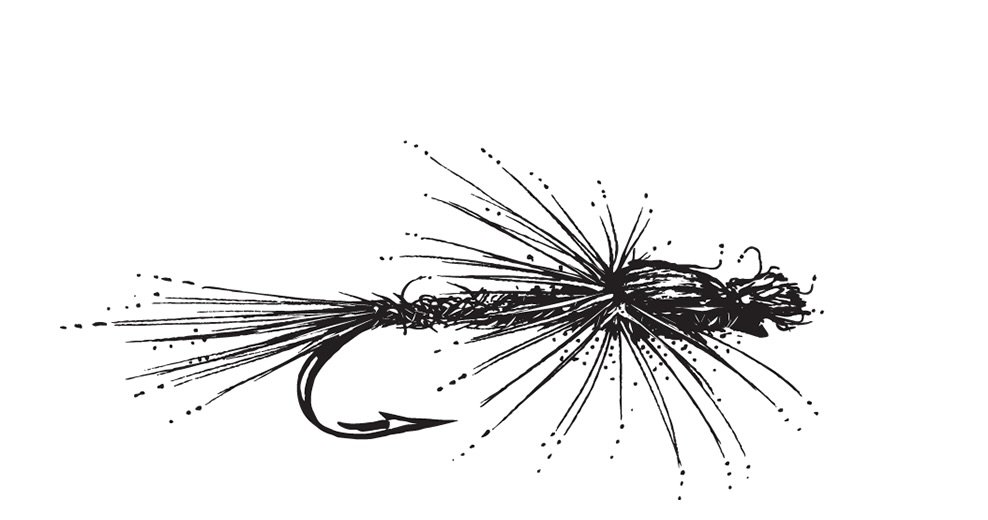
Low Rider Emerger
Hook and thread: Pick what you like. Something lightweight and thin.
Tails: Soft feather fibers (such as mallard) or hackle fibers, mottled or solid color as needed.
Abdomen: A fine-fiber dubbing, natural or synthetic, applied so that it’s barely larger than the diameter of the thread. Keep the body narrow.
Thorax: Same dubbing as abdomen, also applied thinly to the thread. The thorax itself is usually twice the diameter of the abdomen.
Wing Case: Poly yarn, Z-lon, or similar fibers, tied in as a parachute hackle post; folded tight over top of the thorax after hackle is wound.
Hackle: Wound parachute style, two or three full turns only. After the hackle is secured, the fibers extending forward are stroked out to the sides, and the post pulled forward tight along the top of the throax and secured just behind the hook eye.
Head: Butt end of post trimmed to same length as hook eye—tying tip: pull the post fibers straight forward, put the edge of the scissor blade against the front of the eye, and snip.
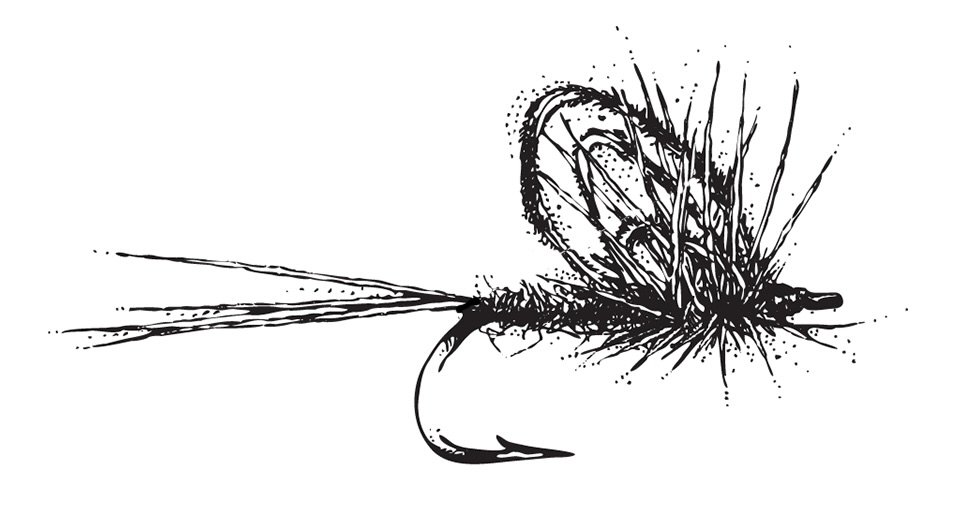
Loop Wing Dun
Hook and thread: Pick what you like. Something lightweight and thin.
Tails: Hackle fibers; color as needed.
Body: A fine-fiber dubbing, natural or synthetic, applied so that it’s barely larger than the diameter of the thread. Keep the body narrow.
Hackle: Color as needed, wound in an open "X" style to provide a broad (but not dense) spread of fibers fore and aft. After tying down the hackle, trim it from the bottom of the fly.
Wing: Soft feather fibers (like mallard) or sparse synthetic fibers such as poly yarn or Z-lon. Fibers are tied in at the rear of the thorax and then looped forward to the front of the thorax after the hackle is wound and tied off. Before being fully tied down, the loose ends of some of the fibers are pulled to create smaller loops. This creates the overall wing profile.
Head: Tying thread, keep it tight and tidy. This pattern is pretty.
9. Presentation and drifts.
Make it look real, or if that fails, try to be convincing. If real means dead-drifting, then do what’s needed to reduce drag as much as possible. If real is moving, then do what’s needed to create the right kind of drag (twitching, skating, etc).
I like to keep the presentation-critical portion of a drift as short as is required to do the job. It’s a matter of reducing work load and unnecessary presentation complexity. The less time the fly has to perform properly, the less chance for error at a crucial moment. If there is no take, the fly can continue to drift with less concern about precision until it’s deemed safe to pick up and cast again.
If fishing over a sighted or regularly rising fish, the critical drift length is usually fairly easy to gauge. Conversely, there are times where a long critical drift is required, such as when prospecting a likely feeding lane. Then you do what you have to do.
10. Upstream or downstream?
Both, plus across, plus combinations. In tough drag situations, a down-and-across approach may work wonders. Sometimes, pure upstream is the only option you have. So be it. Given the freedom, I prefer to deliver a fly so that I can get what I feel is an idealized compromise of both cast and drift control, while also not making myself overly obvious.
11. Fighting fish
Fly fishing involves a connection to a living thing. I say error on the side of respect and get the fight done as quickly as terminal tackle and situation will allow. Be proactive, use side-pressure when you can, and counter the fish’s twists and turns by moving the rod more like a fencing foil. Look ahead, too, for any likely cover the fish might aim for, and be ready to react.
I like to fight fish off the reel if possible, as it’s neater and sounds better (ha!). Sometimes that’s a luxury one doesn’t have, and stripping line is the game. With big fish, you may have to move—a lot—to stay connected. If I find myself there, I just try to keep any stripped line under some sort of control until I can get it back on the reel, or until the fish is to hand.