Craig Buckbee
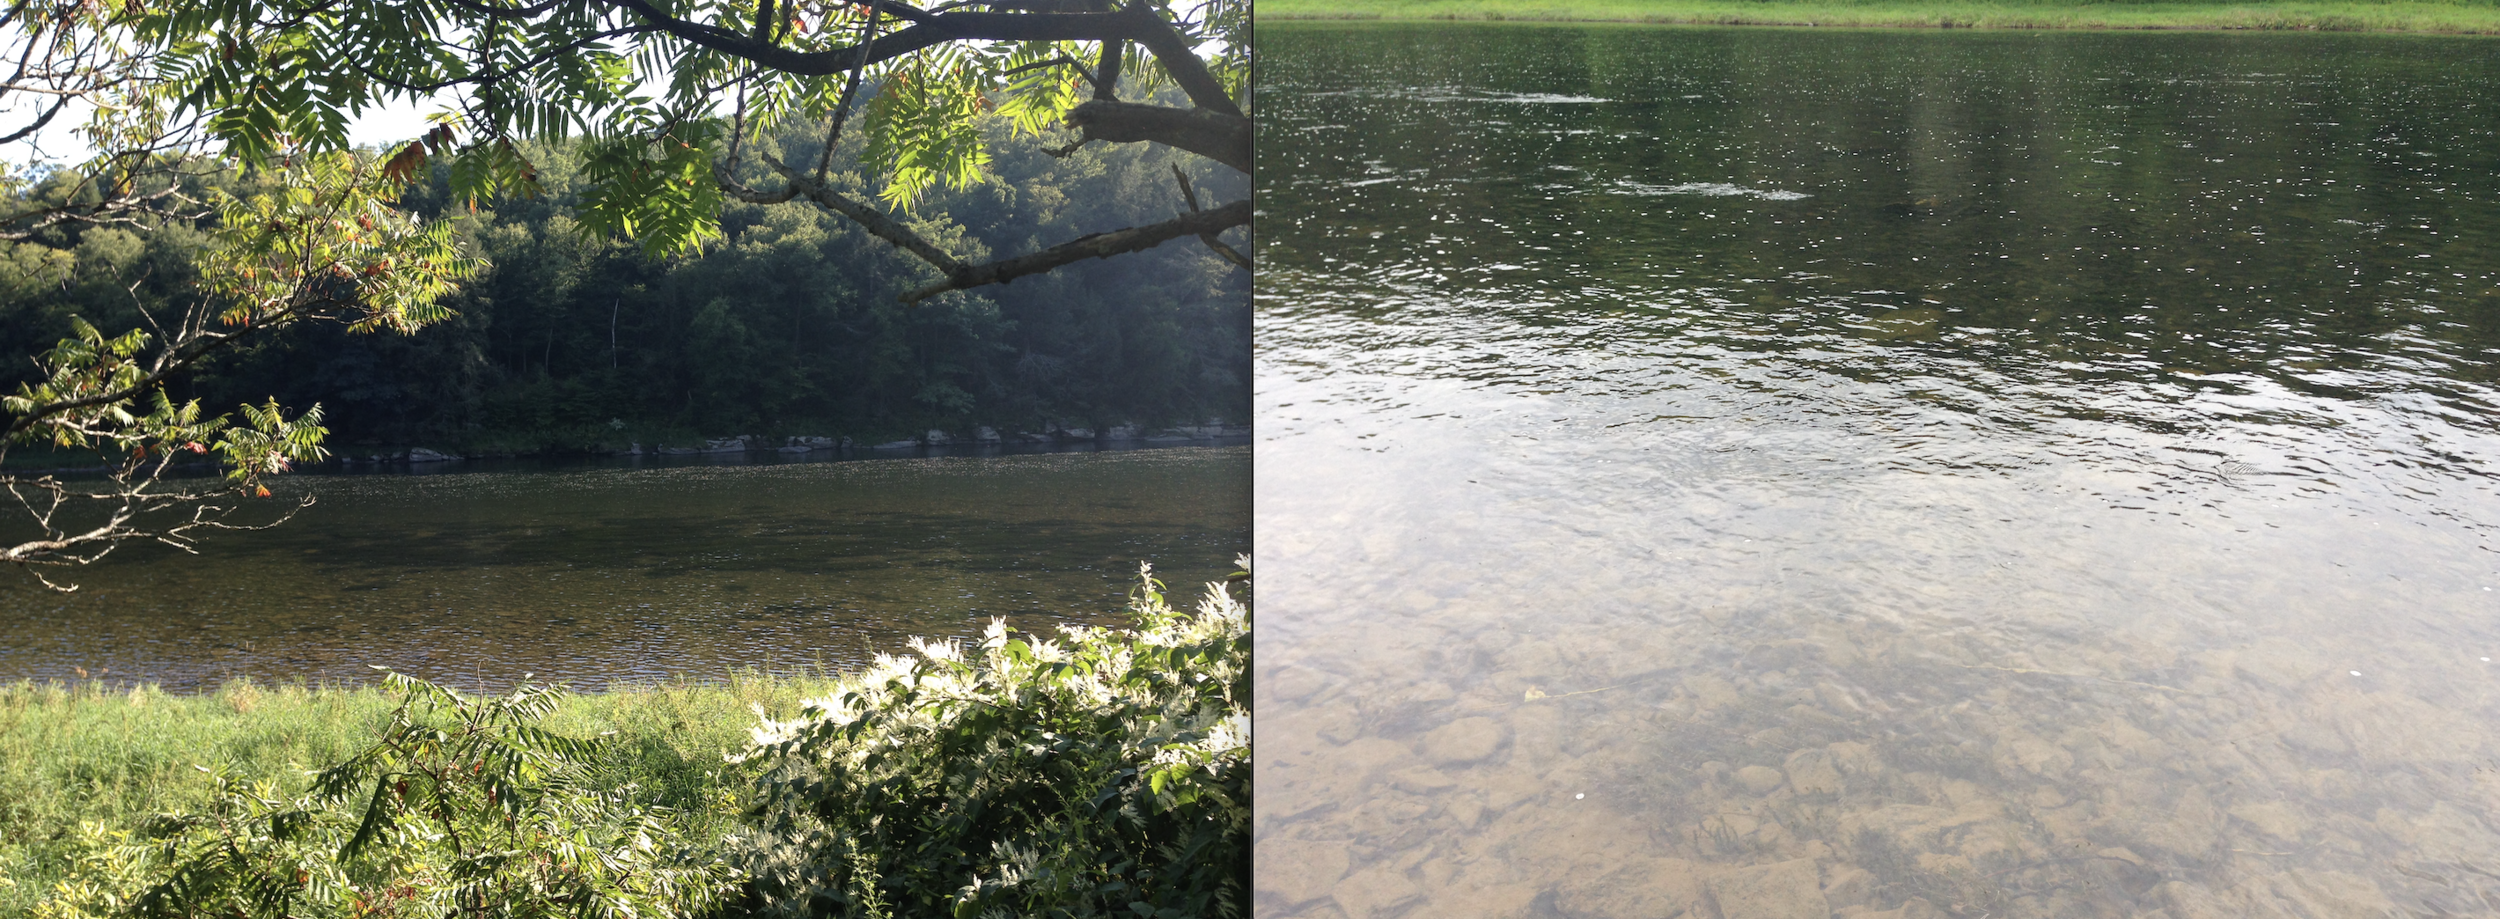
If I had my druthers, I would be wading the tail-out of a great pool or marbleized long run with surface feeding trout of good size. Picture the daunting eddies of the Upper Delaware River in New York or the expansive flats of Iceland’s Laxa in Laxárdular. All my points and opinions below are based on these idyllic settings.

Rod: My rod of choice is a nine foot five weight, perhaps a six, or perchance a four. The wind (or lack thereof) and fly girth are the determining factors in choosing which weight. Shorter than nine foot becomes a disadvantage as I wade deeper and lose my height, and I find longer rods often get wonky tipped and heavy butted. It’s the Goldilocks scenario: nine is just right.
Crisp, no matter which line weight, the rod’s action is crisp. It should feel light and have a unified, clean progressive bend enabling tempos appropriate for a variety of presentations and loops. This rod shows love - it has just the right curves.
Reel: For me, most any reel will do, so long as it has some sort of drag to prevent backlash, a large(ish) arbor to pick up line efficiently, and of course some aesthetics - reels are the jewelry of fly fishers after all. Sound? Go for it. How light? Meh. Oh, and it’ll need a handle!
Line: I heart fly lines! First let me say, the line and rod need to truly enjoy each other's company – no bickering. One of our jobs as keen fly fishers is to search out that match. Don’t listen to public declarations of which line has to be cast on which rod, especially the line’s weight classification. No one is going to jump out of the bushes and write you a ticket for choosing one line over the other.
I am especially fond of two line types for my dry fly trout fishing. The first, a continuous taper with no real belly as found on the Joan Wulff Signature Line, a type of Triangle Taper with improved transition into running line. It is basically one looooong front taper, perfect for situations where quiet, smooth layouts are a must. The modified transitional handling line (rear taper) adds a stabilizing element when trying to feed fish a bit further out. Customizing the line by cutting back the tip a foot or two yields a more pronounced turn over.
My other line of choice is a long(er) bellied, more traditional weight forward, such as the Scientific-Angler’s Trout Taper. It has a more standard nose (front taper), and (as advertised) a long belly. The greater overall head length (in the 50-foot range) allows for accurate casts at distance and ease at presenting larger patterns. What it may lack in front taper stealth can be countered by modifying the leader length.
Clean your line!
Leaders: I am pretty basic here. I have found happiness making adjustments to pre- manufactured knotless tapered leaders - collaging rather than starting with a blank canvas.
Standard fare is to begin with a 9 or 12 ft. 4x leader, growing to approximately 14 ft. after ‘scissors and paste’. I begin by cutting back the butt section and replacing it with a slightly longer and stiffer material while matching as best possible the stiffness curve of the fly line’s tip. I find this fixes the wimpy turnover of some manufactured leaders. The tippet section is adjusted in much the same manner: cut back, then add. I use blood knots for larger material, surgeon’s knots for the small stuff. Proportions are figured through experience, feel and casting - quite the black art.
As for tippet length, I prefer it as short as workable - it must turn over and be accurate, while providing a small amount of slack; too long and it introduces flaws: crappy hookset and wishy- washy accuracy worsened by wind play. Find a rod section or body part, say sternum to fingertip, as a starting point in figuring length. Tippet material should be fresh (note the date of purchase on your spools) and leader tippet freshened while fishing.
For the leader to fly line connections I prefer a needle nail knot: small, neat, four turns. It makes for a strong and smooth link that slides through the guides and quells anxiety when bringing in a weighty fish on a leader that is much longer than the rod.

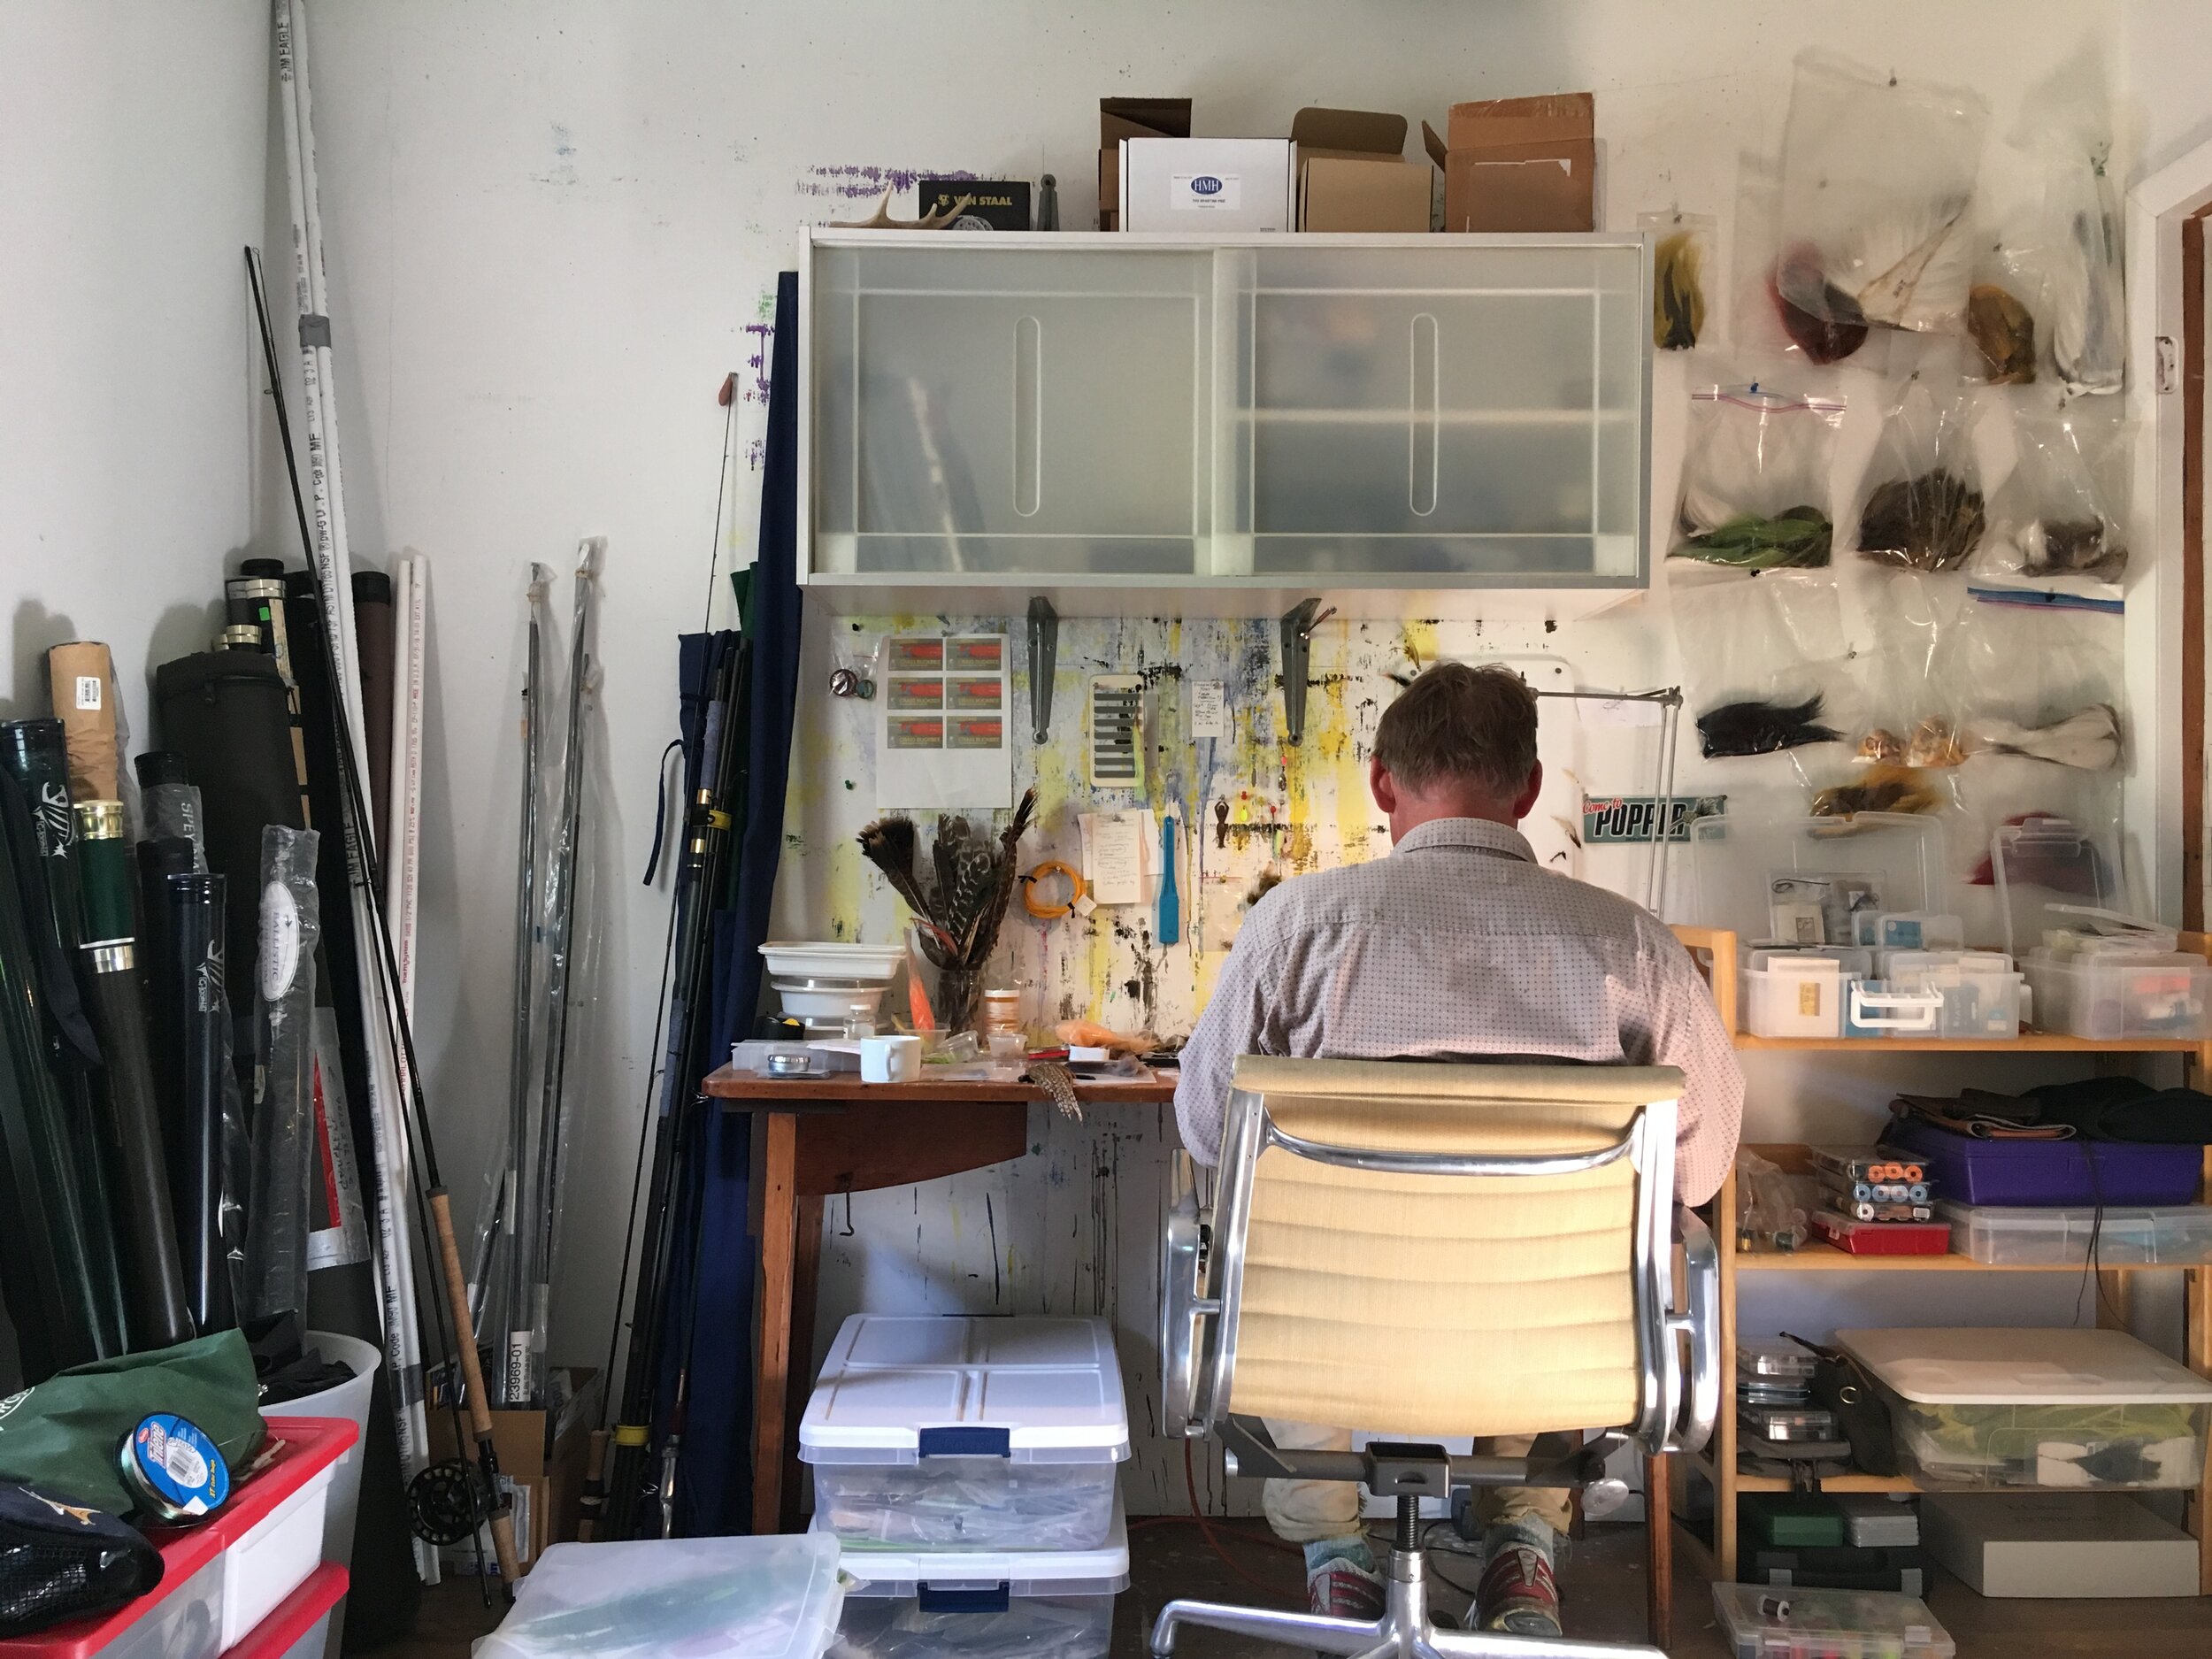
Kit: I’m a vest guy. I like a short, deep-wading style vest with vertical oriented pockets. In rain I may defer to a sling bag but it takes a lot of internal conversation to convince myself. I’ve tried for years to acclimate to hip and sling bags, but alas, I prefer the balance and order that a vest provides.
Mitten clamps are one of my all-time favorite pieces of kit and my Dr. Slick’s are kept at the ready, clamped to the edge of my vest. They open and close like a charm with the ergonomic squeeze-n-release mechanism (no more fumbling when extracting a fly) and make a wonderful knot tying tool with inner jaw scissors for cutting tag ends and rounded edges on the nose for tightening loops.
My flies rest in clear lightweight PVC boxes made by Dewitt here in New York - in my opinion, the best dry fly boxes around.
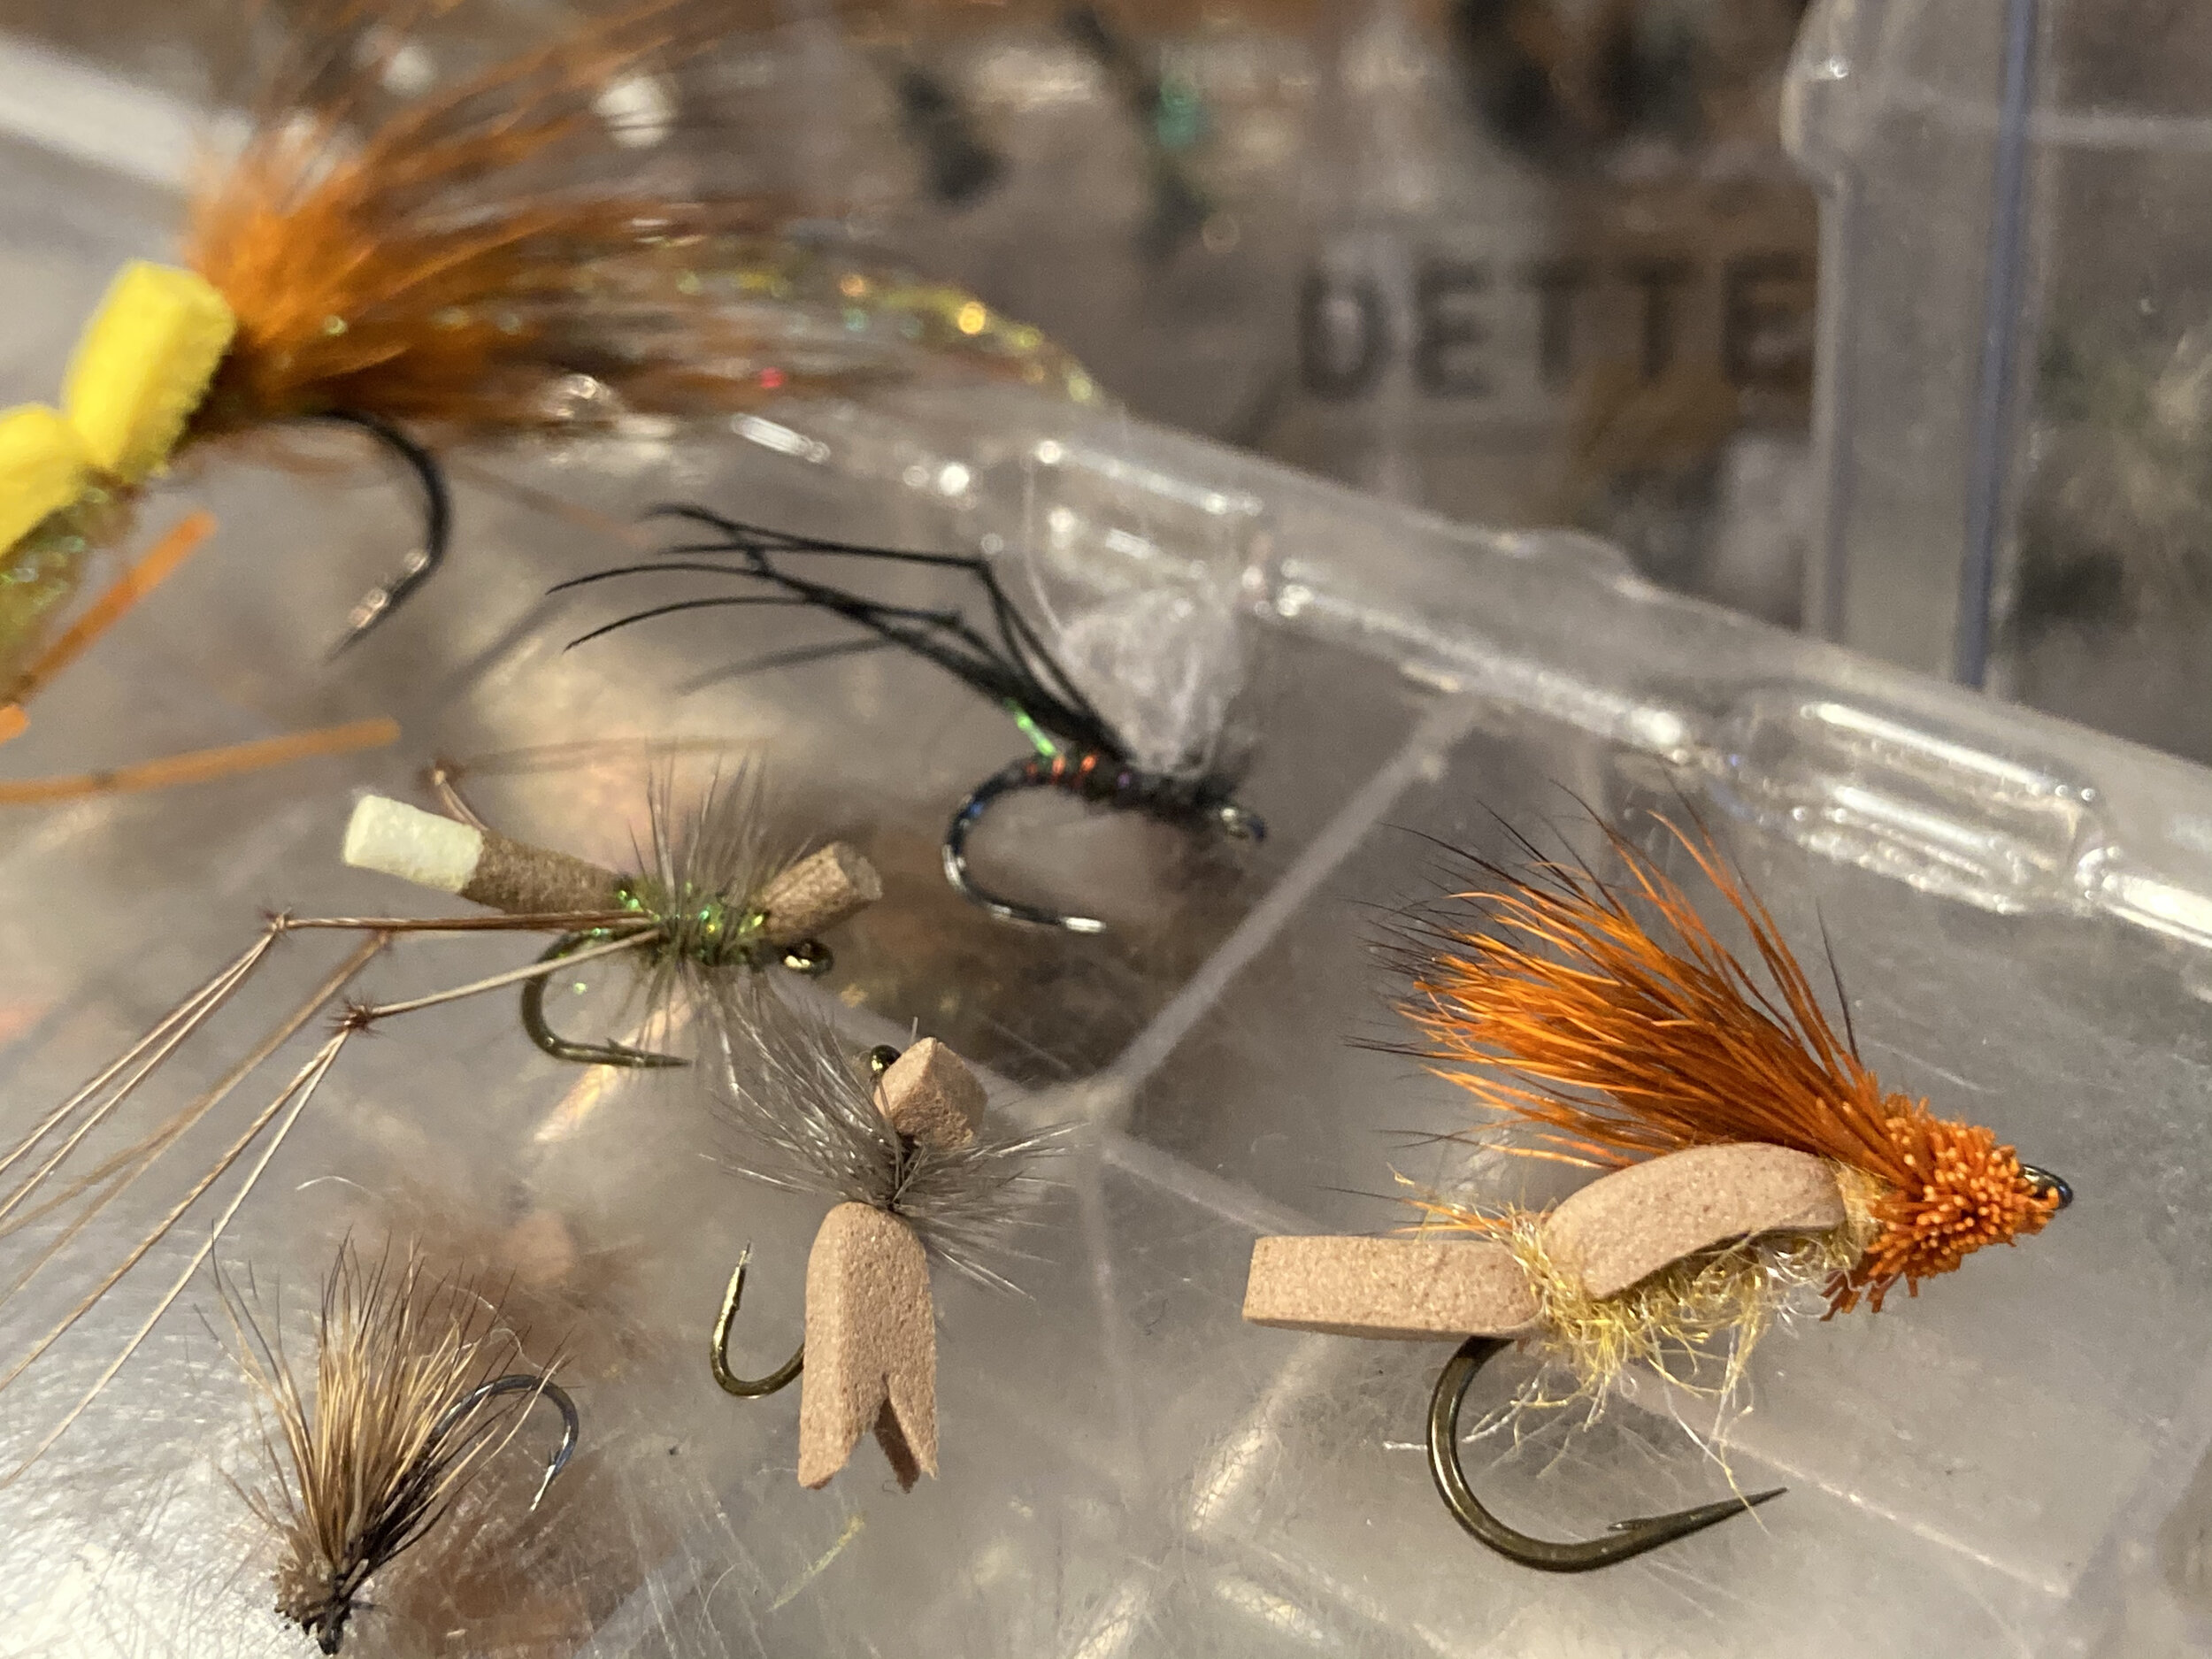
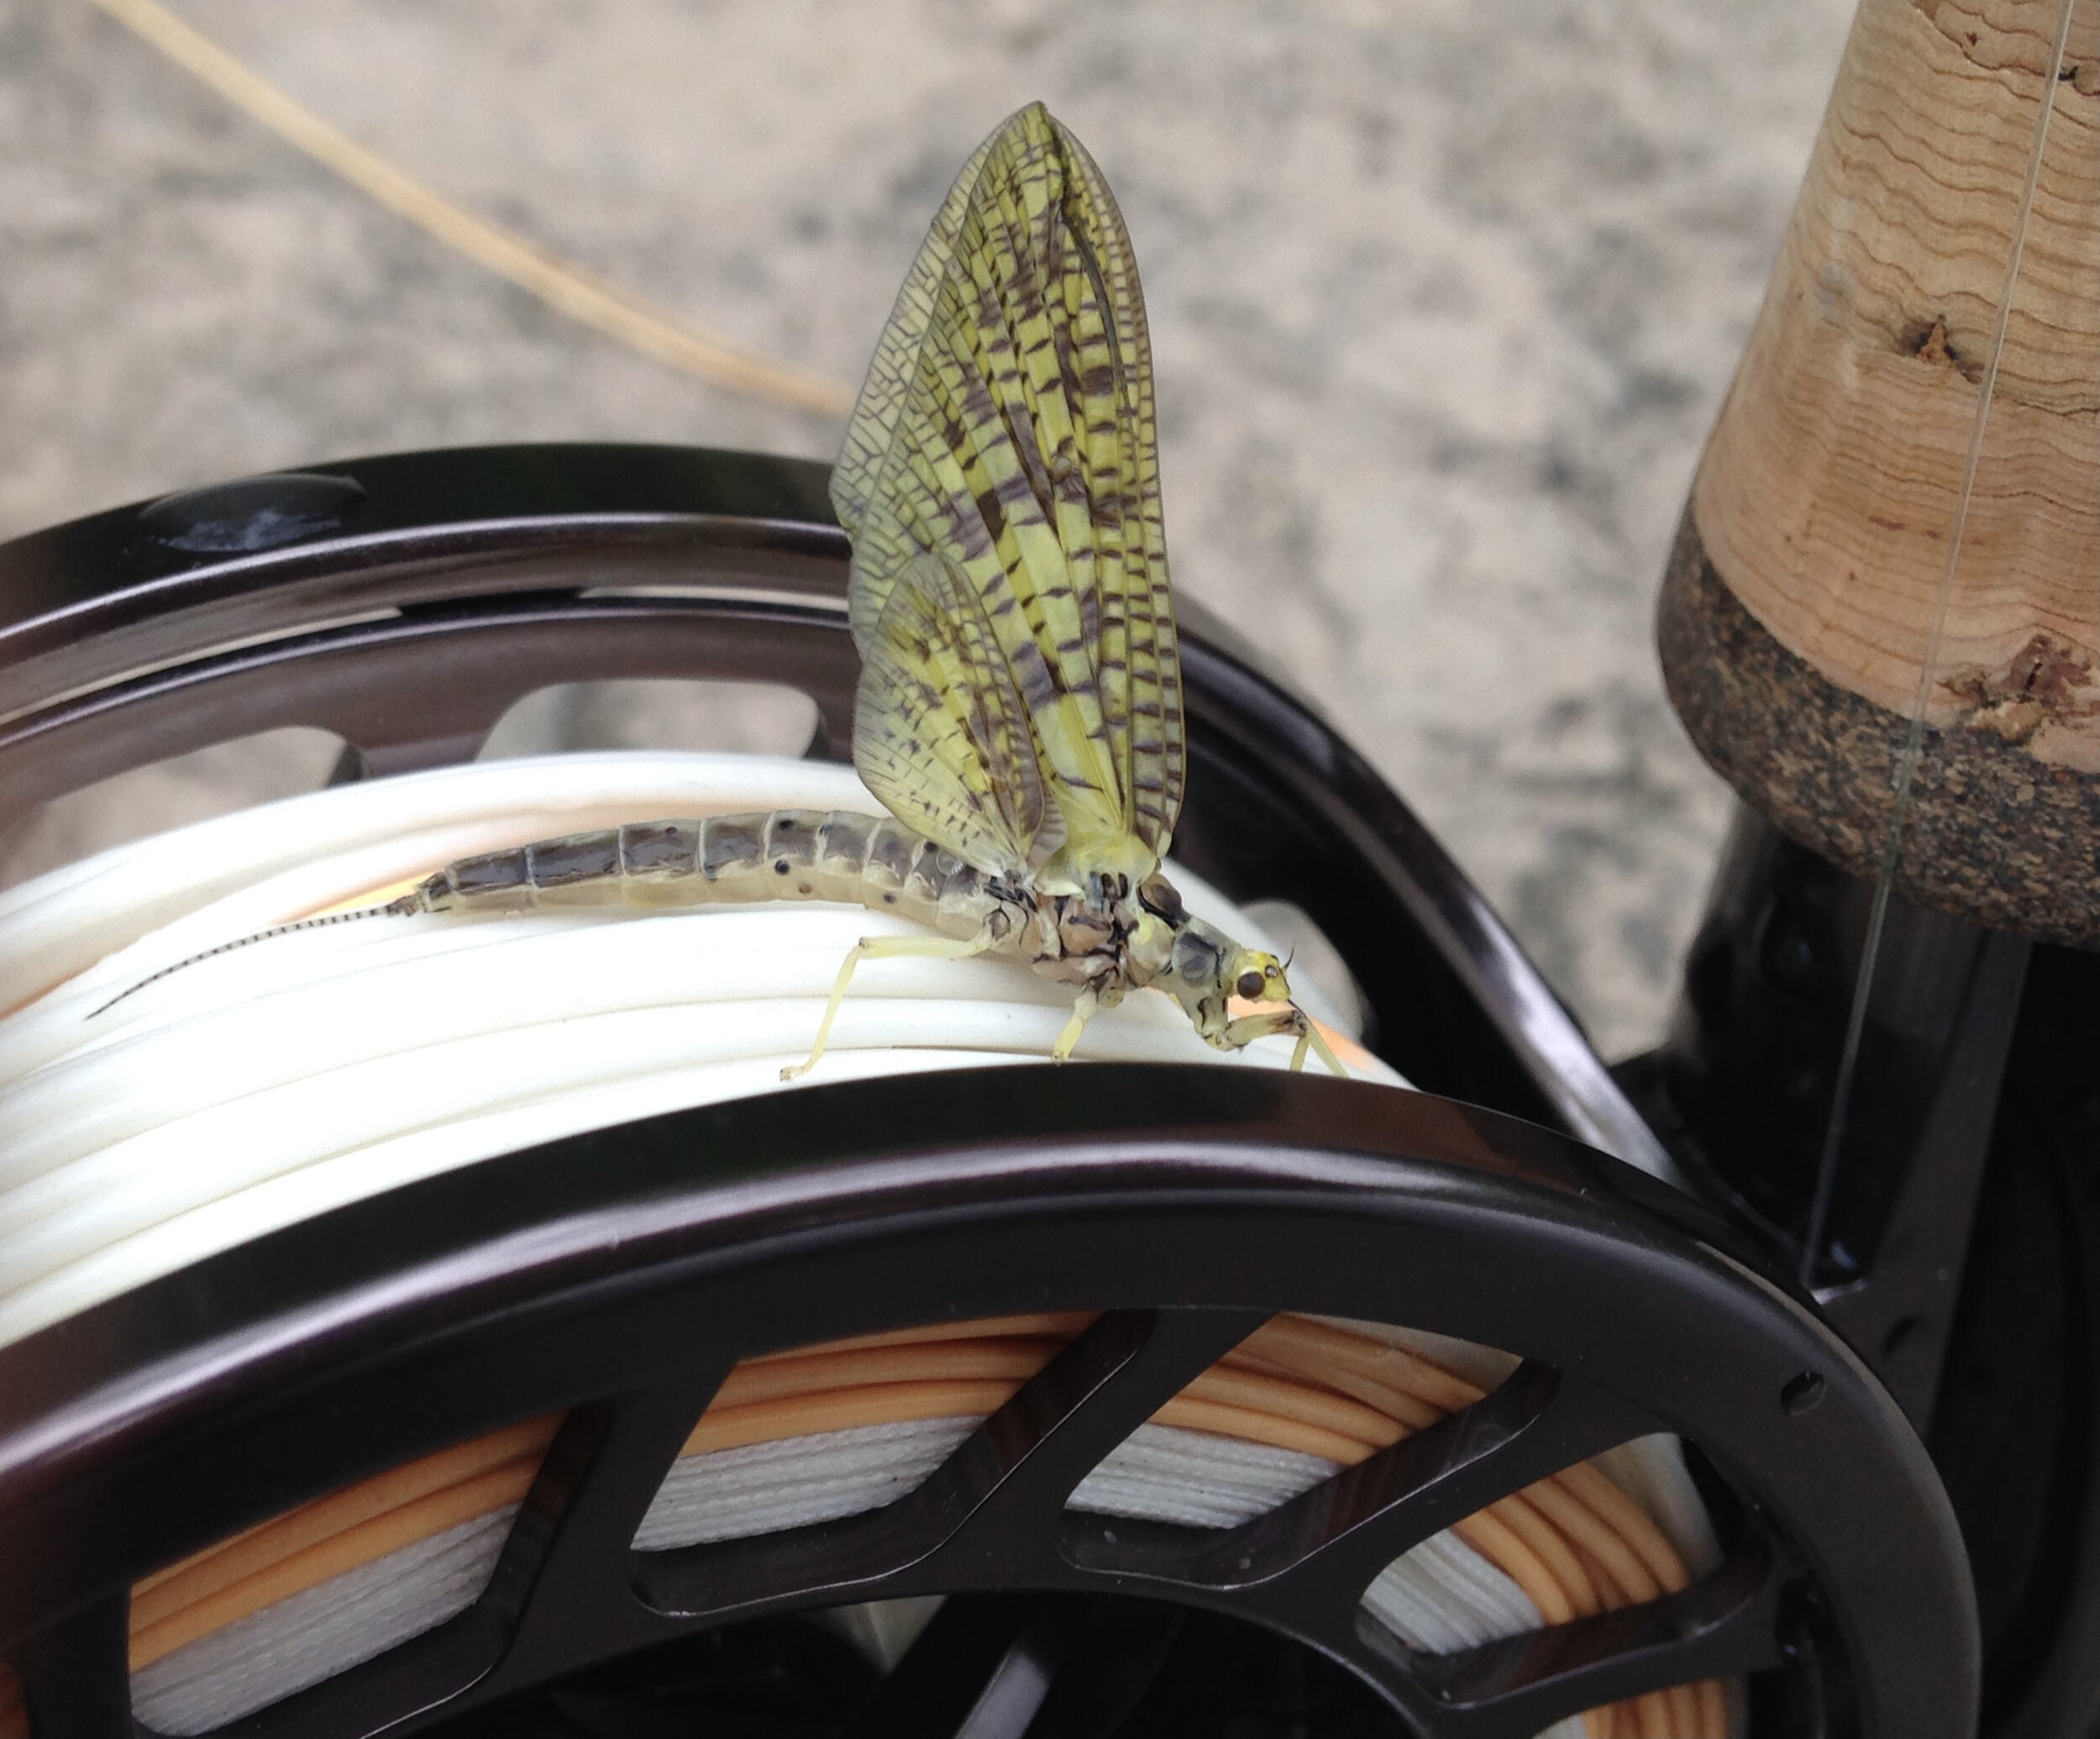
I lean towards impressionistic patterns - sparse if possible, while being durable and fairly easy to tie. The Delaware system is wonderfully (and frustratingly) fertile with bug life and at times there can be a half dozen potential options. Entomology merges with pattern choice when fishing: Size & Profile first, Action & Color/Contrast second. While checking off those boxes I consider how the pattern contacts the surface – its shoe size and beer belly. While traditional Catskill dry flies are gorgeous, full of history and certainly do have their place in my boxes, I prefer Comparadun and Parachute styles for most situations. My versions of classic Catskill patterns often get bastardized with rearward leaning wings. Deer hair and CDC get equal billing in both mayfly and caddis patterns be they duns, cripples or dry emergers. With mayfly duns and spinners I tie supportive forked tails: natural fibers for small sizes and microfibbets for the larger. Large spinners have poly wings buttressed with hackle wraps. By far my favorite time is fishing the film during a spinner fall.

While fishing I clip off flies that have proven their worth, before they lose their key attributes (some get pretty beaten-up), setting them aside as candidates for my ‘Fly Hall of Fame’. Related, as an artist and note taker I keep fishing journals which provide insight and inspiration – especially useful for experiments, fishing new waters and during the off season.
Knots: Learn a few knots well and work with those until proven otherwise. Small to medium flies get a clinch knot, large patterns a surgeon’s swivel - a brilliant knot for disarming a fly that likes to twist up tippet. I have never had an issue with it - thank you Art Lee!

Dressing: After knotting on the fly I treat it with a gel or liquid floatant, and then after application, before offering to fish, I make a couple of casts off to the side to check for oil slicks. I keep shake desiccant on hand to dry a ‘used’ fly. ‘High N Dry’ makes an impressive set of floatants.
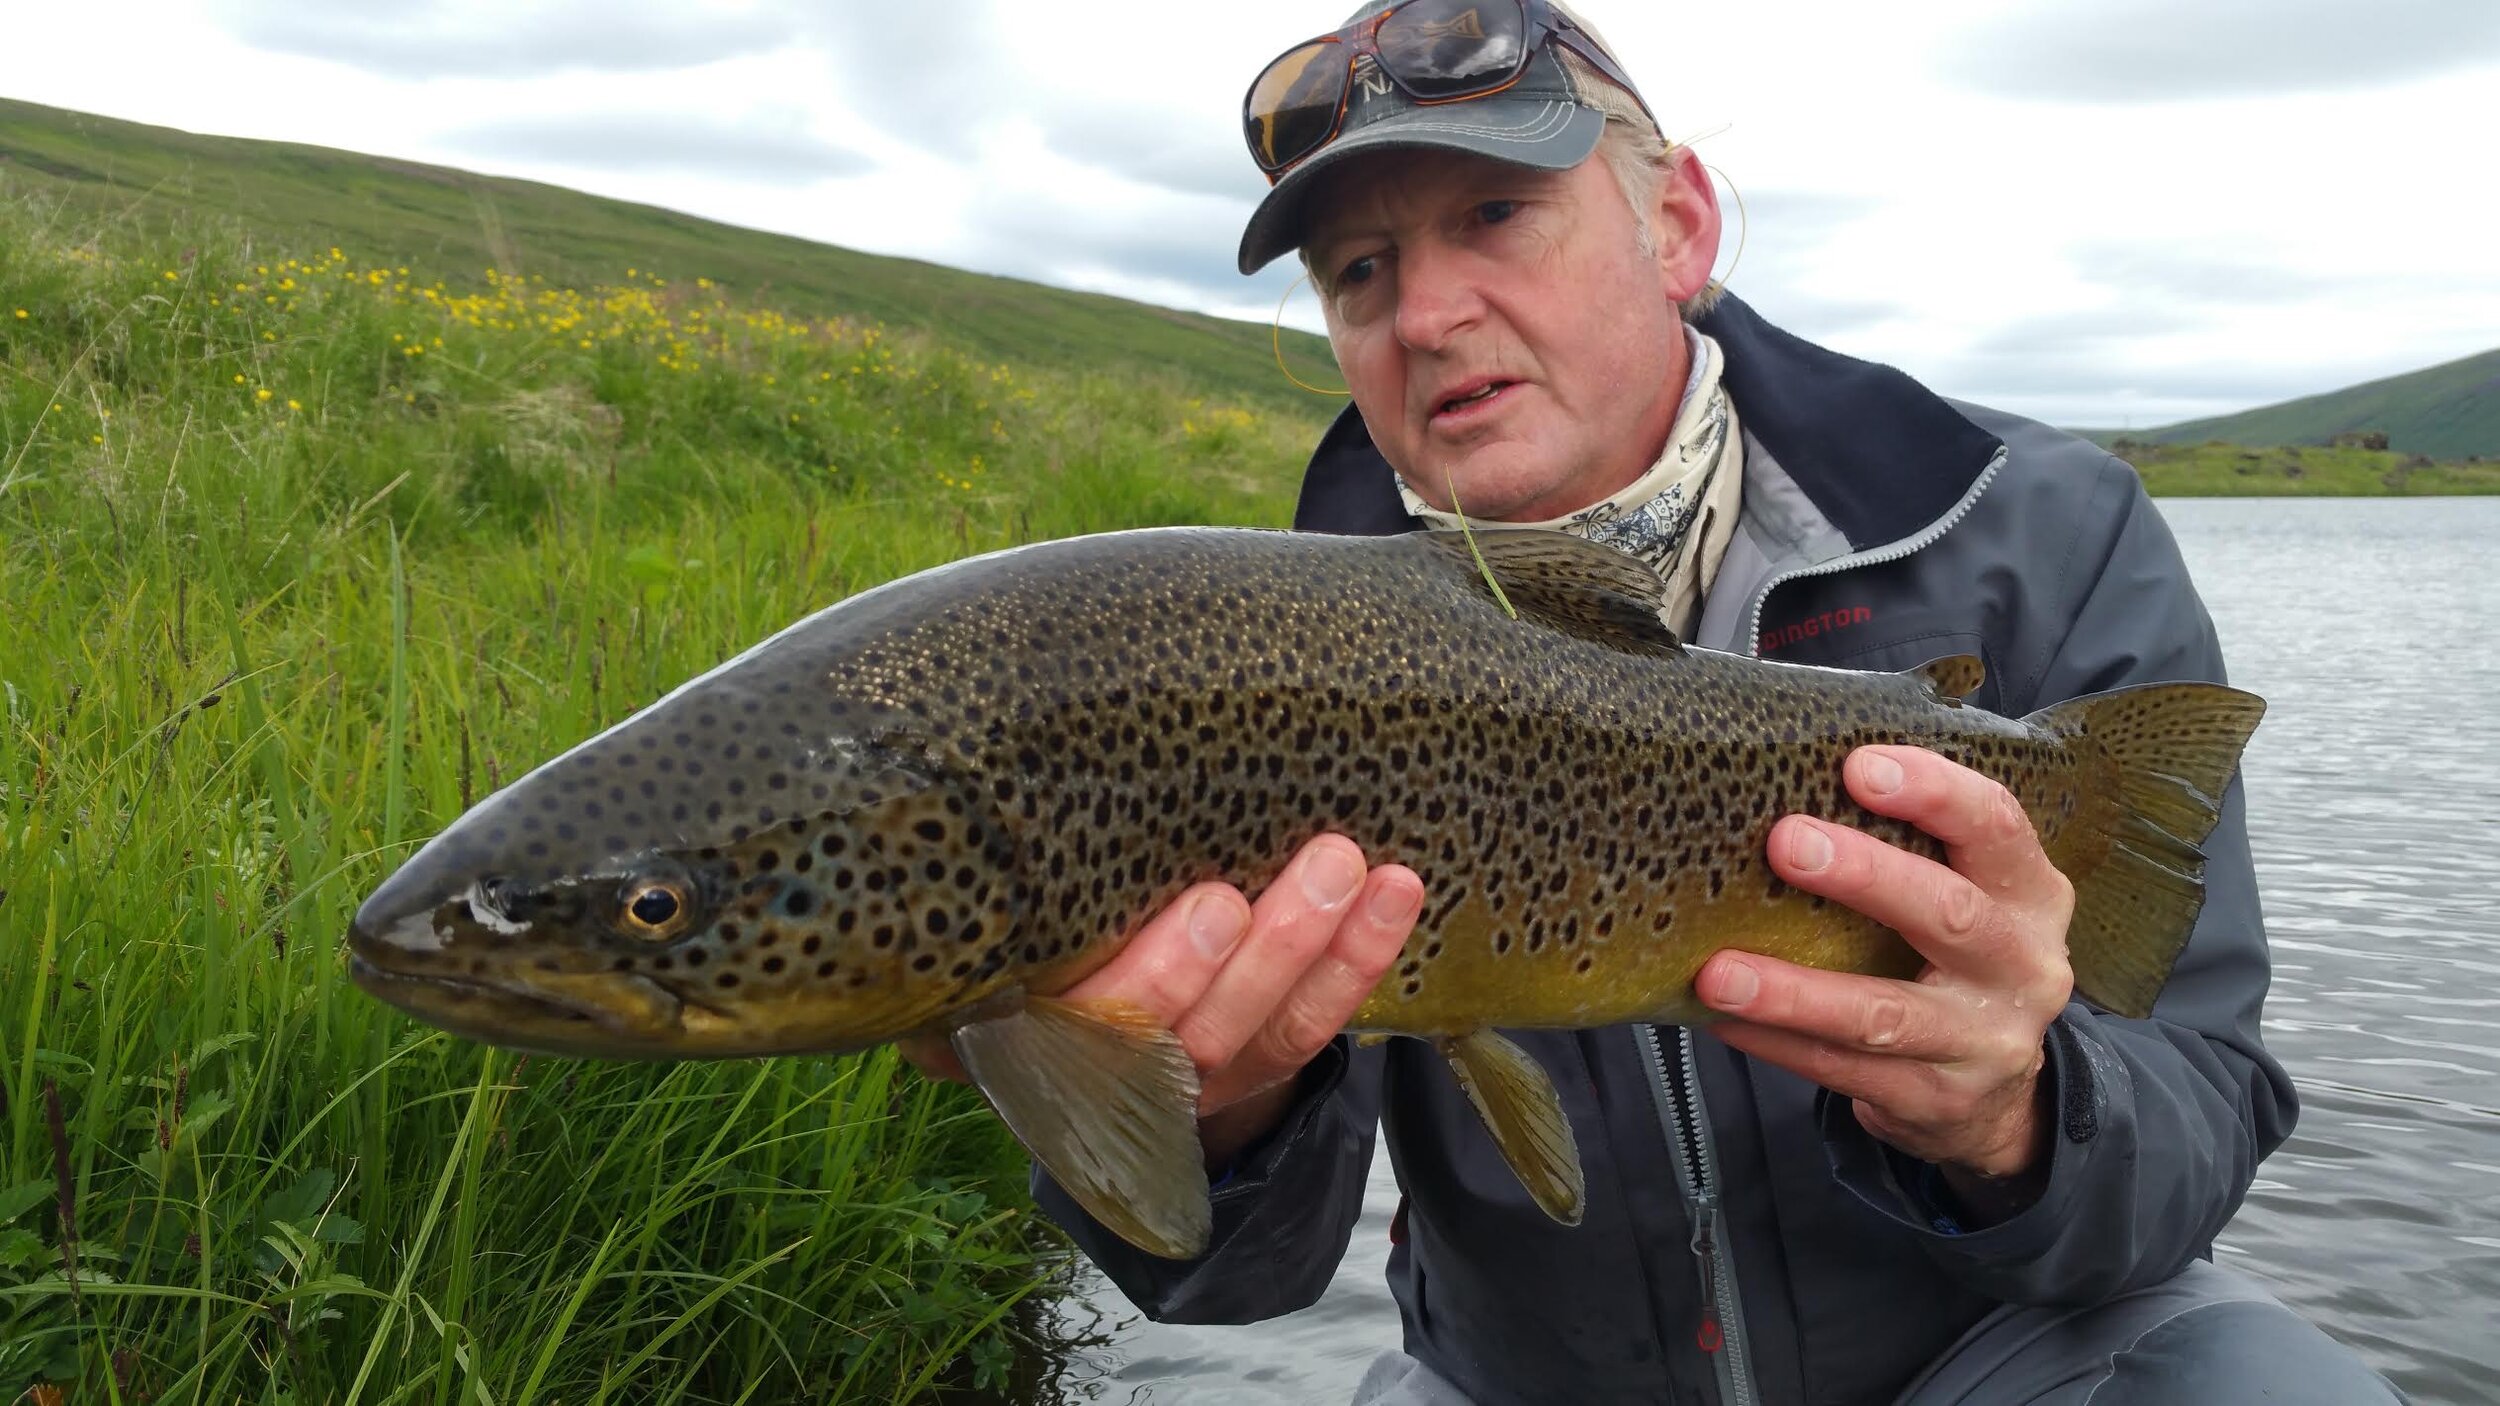
Fishing: The rivers I fish have me looking for rises, evidence of fish (not the fish per se). Patience and observation pay dividends. The ideal rise is fairly gentle, could have an audible (glurp) and then a push of water after the eat. Big wide open water often affords wading (positioning) options and I take advantage of it by using as much of my waders as I paid for. If not getting in the water is an option, then yes stay dry – less is more. As a guide, I teach clients to wade slower than they walk, and then slower still - to wade one foot at a time. It sounds stupidly simple, but it works to diminish water push and ‘tripping with excitement’. Having said that, when I see a rise I get to it! Don’t be afraid of the rise, it’s why you’re here. Rise spotted, I point my rod at it and take note of key relocating markers. Triangulate: Throughout my progress wading or walking the bank (at times an end run may be required) to the rise I adjust my pointer’s angle.
Once arrived and as close to the fish as I dare venture, I control myself and let the fish rise at least once more - this used to be the time and place to enjoy a cigarette. You can observe so much more when close: which bug the fish eats and when, the sequence/timing, fish movement (as an example, whether it moves left or right to eat), and the speed and depth of the flow. You can also see your fly better: where it is and what it is doing, how the leader acts - resulting in less casting and with better accuracy. All things being equal, my preferred spot to do my ‘heron imitation’ is from slightly upstream. Keep in mind my waters are not the crystal-clear sighting waters of New Zealand. As long as care is taken to move cautiously with soft movements and to be aware of one’s shadow, getting close to an active surface feeding fish is possible, and exhilarating – it is the addiction of the dry fly interloper!
With a slight aerial reach mend or at times a direct, straight shot (no reach at all), dropping the fly a few feet above the rise is typical. This leaves the line trailing behind my fly so there is less chance of drag and the fish will see only the fly. To minimize drag even more, the fly should land first, so I cast with a trajectory that has a high back cast and lower forward. Prior to my presentation, distance is measured while false casting off to the side. Here, being short is better than long.

If the fish doesn’t eat my offering, I let my fly drift past by several feet and then pick it up: with a short line a simple 101 pick-up, and for a longer line a roll pick-up, which allows me to keep a measured length of line quite nicely - limiting the need for false casts to shoot line and re-measure for a second presentation. The pick-up is stealthy, think ‘steal the fly’: lift, lift, lift the line and then pluck the fly off the water’s skin. I make one forward false cast behind the fish to shake off water (the spray), a second above fish to double check for accuracy and then a third to present it. Un, Deux, Trois. I ‘rinse- n-repeat’ until the fish eats or I deem a change is in order, whether fly, tippet, or position.

An aerial reach mend is a straight line lay-out, set off to one side – not a slack line presentation, which inhibits hook setting. As the fly and line ride down stream I follow with rod, simultaneously lowering the tip, in an effort to keep the original angle of presentation, the fly on course and stave off drag - a rewarding dance. From upstream, the classic trout set would be a mistake with its upward lift pulling the fly away, out of the fish’s mouth. Instead, hook setting here is off to the side, sweeping towards bank, with a slight lift. There is no need to yank, no need to ‘set’ the hook. From our end, there shouldn’t be any craziness, no caloric burn – it is a smooth, quick, limited move that removes slack and gains tension.
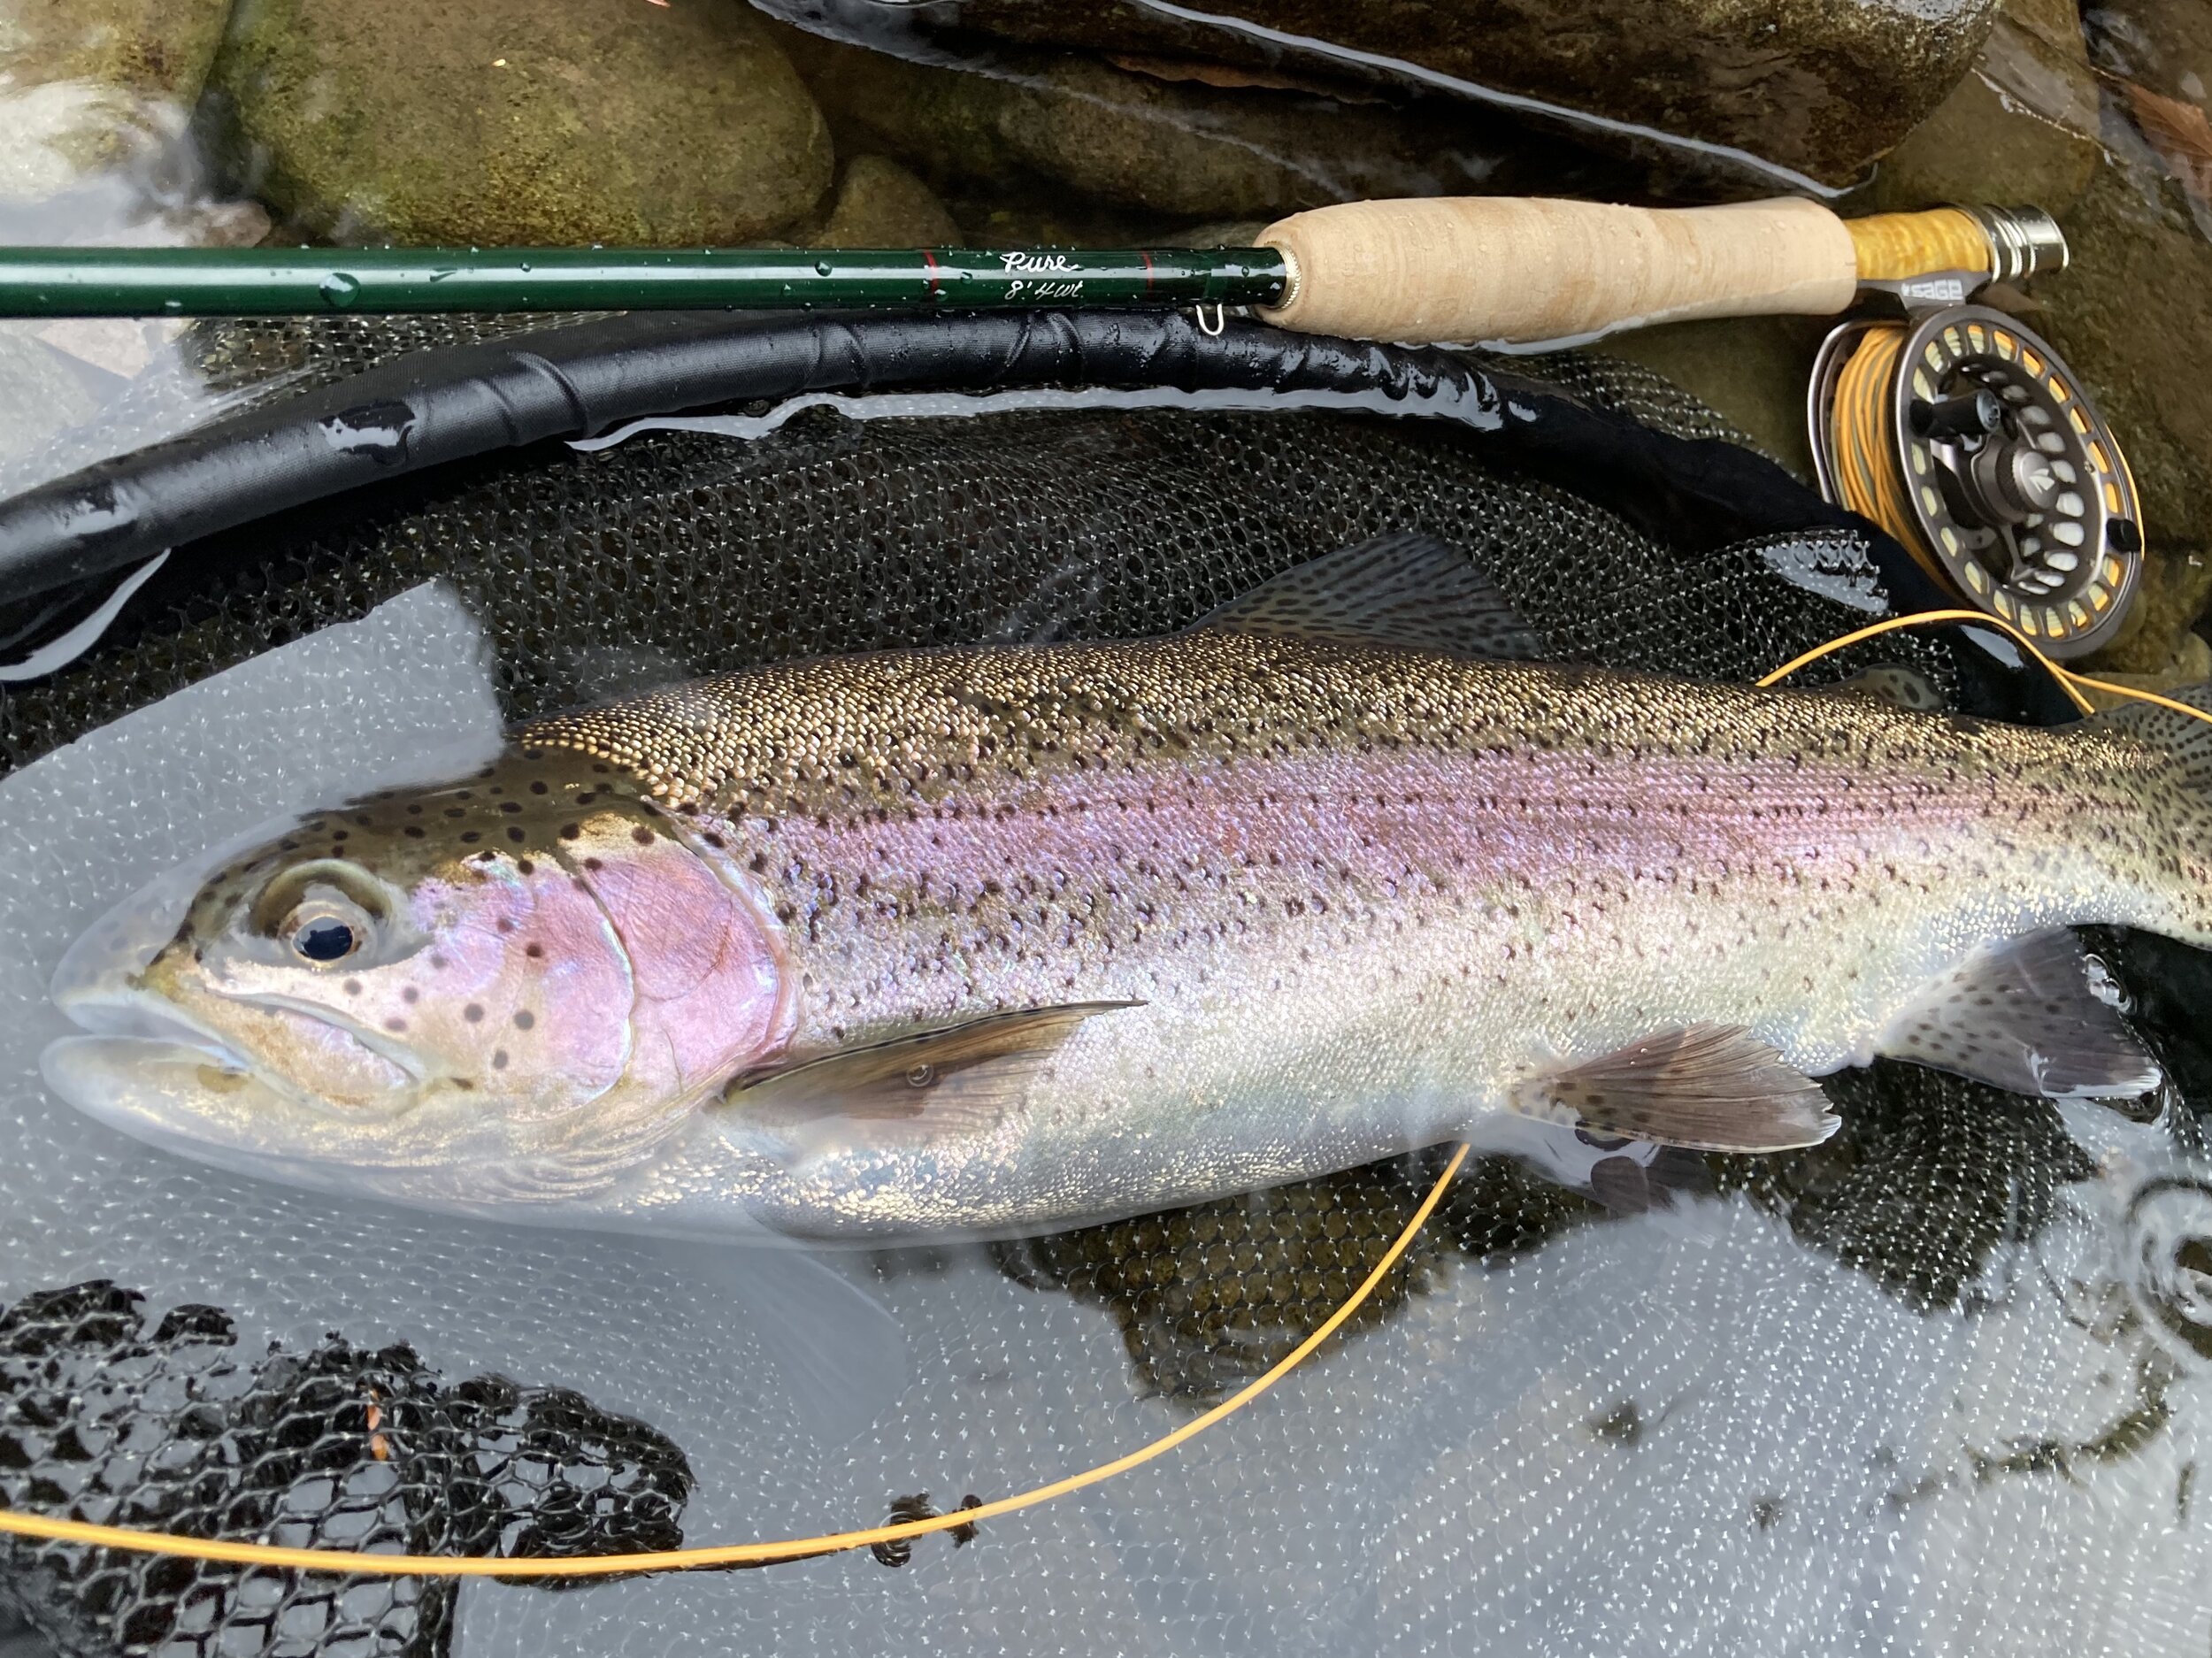
When a trout takes a dry fly it doesn’t bite it: it opens its mouth, and water carrying the fly dumps in, the mouth closes, and the fish turns and descends back to whence it came. Our job is to pull any slack out of the system and allow the fish turning to send home the hook point. We just need to ‘come tight’ to the turn of the fish. It’s that movement which slides the hook into the corner of its mouth – this placement plays a large part in the success of catch and release.

Photo Bjarni Höskuldsson
Now the fish is on. I lift the rod to clear line off the water, enabling the fish to make its initial run - during which I manage any loose loops, metering them as they slide up and out of rod thereby placing the fish on the reel. Having loose line hanging about will get in the way later: stepping on it, twisted up around waders, etc. It is one less variable to mess up landing a fish, especially a good one. Save for lava rocks and other sharp obstacles, the rod is held approximately at 45 degrees, not anywhere near vertical as is pictured all too often. Fish feel little pressure with the rod at such a steep angle. I put pressure on the fish with lower rod angles, strong tippets, and trusted knots. The best way to buffer a surging weighty fish is to bow the rod. Standing there like a statue, rod held high, making the rod tip be solely responsible for the tippet is beginner stuff. By bowing one can give line faster and in a more controlled manner.
Once the fish is near, I hand strip in the last two or three feet of line just before the line leader connection comes through the tip-top, held pinched against the cork, it’s at the ready to give back immediately when the fish does its last sharp move. It also acts as a quick tension release once the fish is in the net (head first). If possible the fish is netted in quieter water; in shallower water I may need to kneel. I highly recommend a wide hooped, flat-bottomed, rubber net as made by McLean Anglers of New Zealand. The less stress on the fish the better. I do not beach trout and neither should you.
After the brief ‘interview’ I take time to enjoy the fish as it swims away, relax my shoulders, check my fly, knot, and tippet, fix what needs fixing and then off to the next rise!